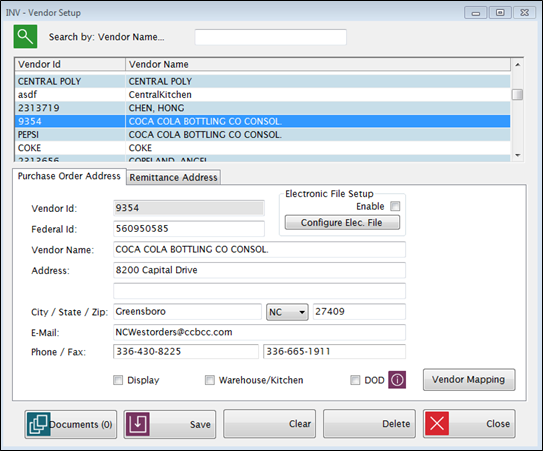
The Vendor file includes all the vendor information needed for ordering and receiving inventory and updating the General Ledger for Purchase Orders and Invoices.
At least one vendor is required before you set up Inventory Items.
Enter the vendor’s E-Mail and Phone/Fax numbers in the appropriate fields, if desired. They are for reference only.
Check Display if you want this vendor to be available in the Vendor dropdowns for Item Maintenance, Orders, Transactions, and Invoices. Uncheck the box if this is a vendor that is no longer used and you do not want it listed.
 box.
box.
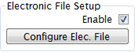
This information is needed only if you will be sending orders electronically. This is accessed from the Vendor Setup: Purchase Order Address screen.

Electronic File Format tab

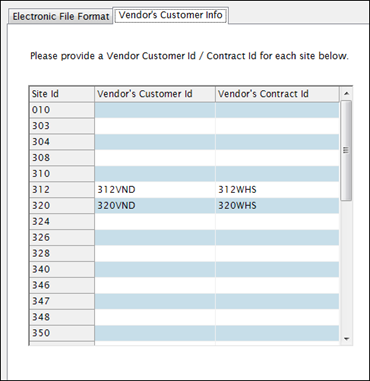
Vendor’s Customer Info tab
This tab is for entering the Customer Site IDs that the vendor uses to identify Meals Plus sites in their records.
You only need to fill in this information in if you selected Customer/Contract ID on the File Format tab OR if you are using the pre-defined US Food export format.
The vendor should provide you a list of Customer IDs, if they are required.
There can be two different customer ID’s per site:
This determines which general ledger vendor is used when Meals PlusInventory updates the LINQ or Sunpac general ledger for Purchase Orders or Invoices.
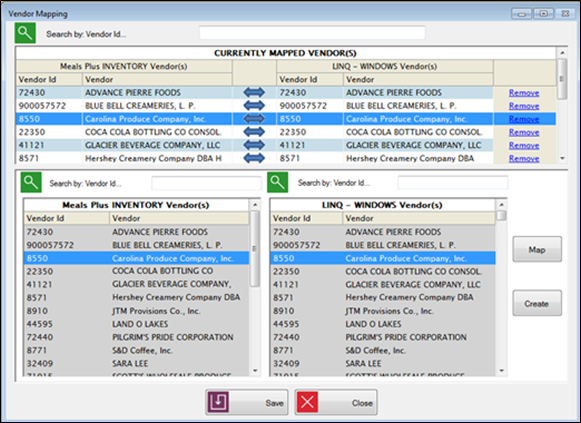
Set up a new mapping
Select one vendor from each side and click Map.
When you click Save, it will update the MealsPlus vendor name and all the address information to match the general ledger name and addresses.
Remittance Address Tab
![]() If
you are going to map the Vendor to the general ledger, you can leave the
address information blank and synchronize the address info when you save
the mapping.
If
you are going to map the Vendor to the general ledger, you can leave the
address information blank and synchronize the address info when you save
the mapping.
The Document Cabinet is available for many functions within Inventory. With this, you are able to add documents to the record and the information is one central location.
Click
 to
add documents to a vendor.
to
add documents to a vendor.

Upper Grid
This displays all the documents currently attached to this record.
Select any record to display more details below. Any comments along with whom and when the document was added to this record will display.
Buttons
Click Upload New to add a new document that has been saved on your computer.
Click Scan New to scan and add a new document directly to this application.

To remove a document, highlight the document in the grid and click Remove.
Click View to view an existing document. The document will open in read-only status.
Click Export to export a document out of LINQ. A browse box to select where to save the document will appear. Select the location to export the document to and click Save.
Details Section
This section displays the File Name and type, when it was uploaded and by whom.
Enter any comments about the document in the Comments text box.